> For the complete documentation index, see [llms.txt](https://emailpref.gitbook.io/emailpref-documentation/llms.txt). Markdown versions of documentation pages are available by appending `.md` to page URLs; this page is available as [Markdown](https://emailpref.gitbook.io/emailpref-documentation/integrations/sendgrid/integration-setup.md).
# Integration Setup
Configuring your SendGrid integration with Emailpref is a straightforward process. Here's how to seamlessly connect your accounts:
\
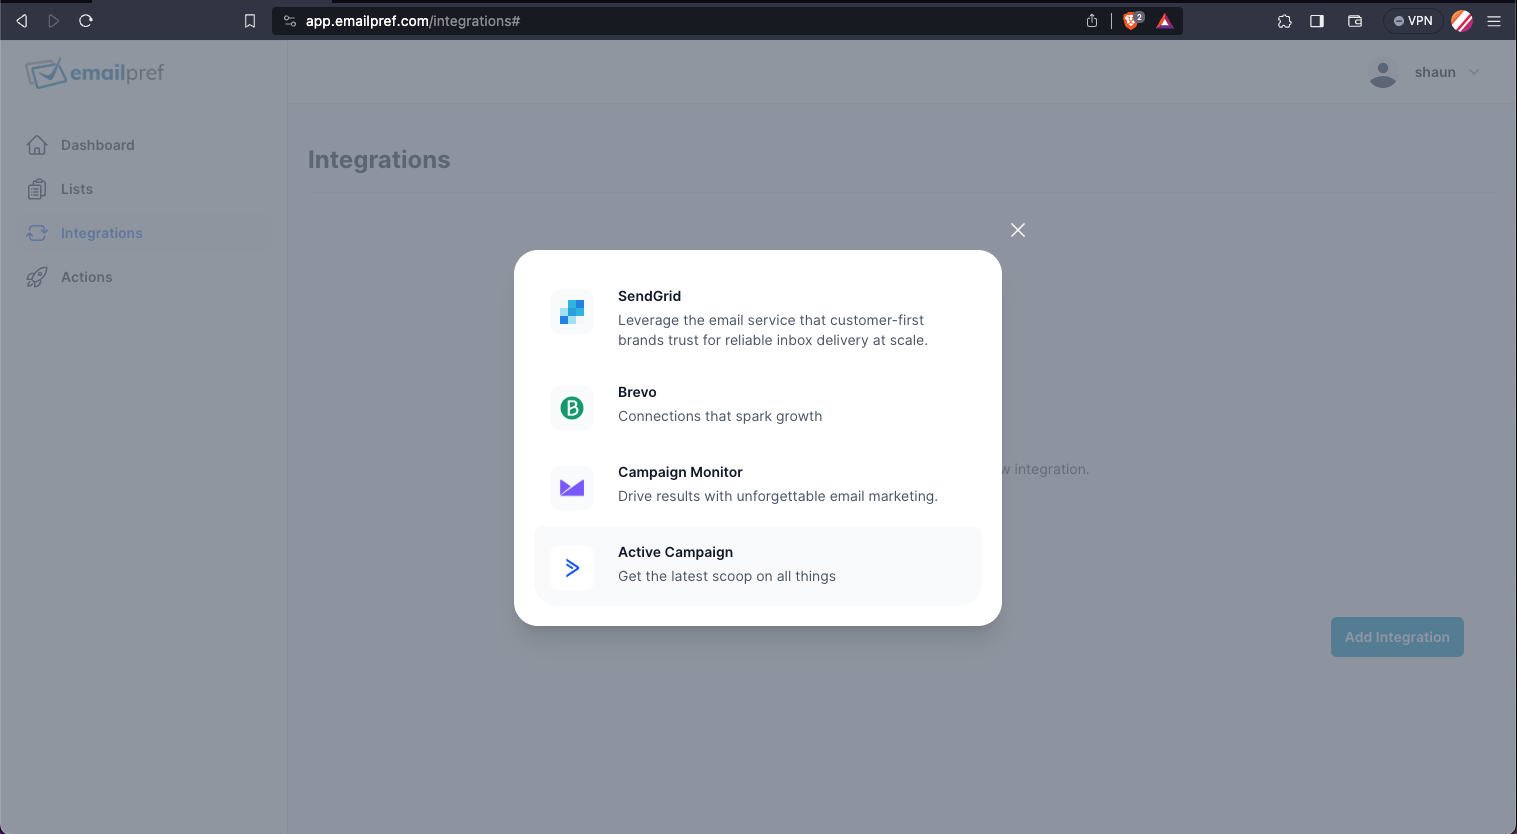
**1) Navigate to Integrations:** Begin by accessing the "Integrations" tab located on the left-hand side of your dashboard. This is where you can manage all your ESP integrations.
**2) Add Brevo:** Click on the "Add Integration" button and select "Brevo" from the list of available integrations.
Integration within Emailpref
**3) Provide Integration Details:** You'll be prompted to provide essential integration details:\
\
**a) Integration Name:** Assign a name for this integration to help you identify it easily within your Emailpref account.\
\
**b) API Key:** Retrieve your API key from your SendGrid account by navigating to "SMTP & API" and selecting "Generate new API key" if you do not already have one. Copy this information and paste it into the corresponding fields in Emailpref.
**4) Confirmation and Action Creation:** Once you've filled in all the necessary information, click "Accept." If any information is incorrect, Emailpref will display an error message for correction. When the details are correct, you'll receive a confirmation message, signaling that your integration is successfully set up.
{% hint style="danger" %}
Once your integration is successfully established, Emailpref takes care of two crucial tasks: list retrieval and default action creation. Here's how this process unfolds:
1. **Automatic List Fetching**: Emailpref promptly fetches all your lists from Brevo and conveniently displays them in the 'Lists' tab. This automation eliminates the need for manual list transfers or data management.
2. **Real-time Data Synchronization**: Simultaneously, Emailpref creates default actions for lists, which you can readily access in the 'Actions' tab. These default actions are essential for real-time data synchronization, ensuring that your preference pages and Brevo lists remain seamlessly aligned.
By performing these tasks efficiently, Emailpref simplifies the management of your lists and actions.
{% endhint %}
\
By following these steps, you'll establish a seamless connection between Emailpref and SendGrid, ensuring efficient data synchronization and enabling users to manage their email preferences effortlessly.